
Rucking Basics: How to Get Started
Discover the essentials of rucking with our guide on gear prep, walking techniques, and workout structures to elevate your fitness journey.
If you’re ready to start rucking and want to nail the fundamentals, here are some no-nonsense tips to get you moving safely and effectively.
Rucking 101: The Basics
Rucking isn’t just slapping on a backpack and heading out—it’s a full-body workout that challenges your strength, endurance, and balance. Here’s what you need to know:
- Gear Up Right: Use a bag that suits your body. If you’ve got an old hiking bag that’s still comfortable, that works. But if it’s causing shoulder pain or uneven weight distribution, consider a ruck-specific bag.
- Keep It Simple: Start with a basic setup and only add complexity as you get more experienced.
Gear Essentials: What You Need
Choosing Your Backpack or Rucksack
- Comfort is King:
- Look for a backpack with a padded back panel and well-designed waist straps. This ensures the load sits appropriately and doesn’t pull you forward or backward. Some people also start by using a weight vest.
- A bag like the GoRuck Rucker with dedicated compartments for ruck plates can be a game changer—keeping your gear stable and your workouts versatile.
Adding Weight
- Start Light:
- Begin with around 10-20% of your body weight. This helps your body adjust to the new load.
- Progress Gradually:
- You can eventually work up to 30% of your body weight, but pushing beyond that too soon might lead to injuries.
Biomechanics & Form: Get It Right
Your form matters. Good biomechanics can make or break your rucking experience.
- Secure Your Waist Strap:
- Ensure it’s snug enough to keep your bag in place, preventing it from pulling you too far forward or backward.
- Posture is Crucial:
- Stand tall and maintain a natural posture. This not only improves efficiency but also minimizes the risk of injury.
Terrain Considerations: Step by Step
Your environment plays a massive role in your rucking journey. Here’s how to tackle different terrains:
- Start on Flat Ground:
- Get comfortable on level surfaces before moving to more challenging terrains. You can start by simply using your body weight and hiking. Then add that weight. Treat the bodyweight exercise as a Zone 2 aerobic training session to get that cardio in for the day.
- Gradually Introduce Hills and Uneven Surfaces:
- Add hills, gravel, or wet surfaces to your routine as you build strength and confidence. Introduce jogging or running gradually.
- Listen to Your Body:
- Avoid combining heavy weights with steep hills until you build up your endurance. Rushing into it might lead to unnecessary hip or joint pain.
Footwear: Protect Those Feet
The right shoes can make all the difference.
- Opt for Stability:
- Choose waterproof, above-ankle shoes with excellent grip to keep you steady on various terrains.
- Consider Protective Features:
- Some trail shoes come with built-in plates that guard against sharp objects—an essential bonus for hitting rugged trails.
Final Thoughts
Rucking is all about gradual progression and listening to your body. Start with the right gear, add weight slowly, perfect your form, and take on terrains step by step. With these tips, you’re set to build an intense, injury-free rucking routine. Get out there, push your limits, and remember to embrace the suck—it’s all part of the adventure.
Transcript
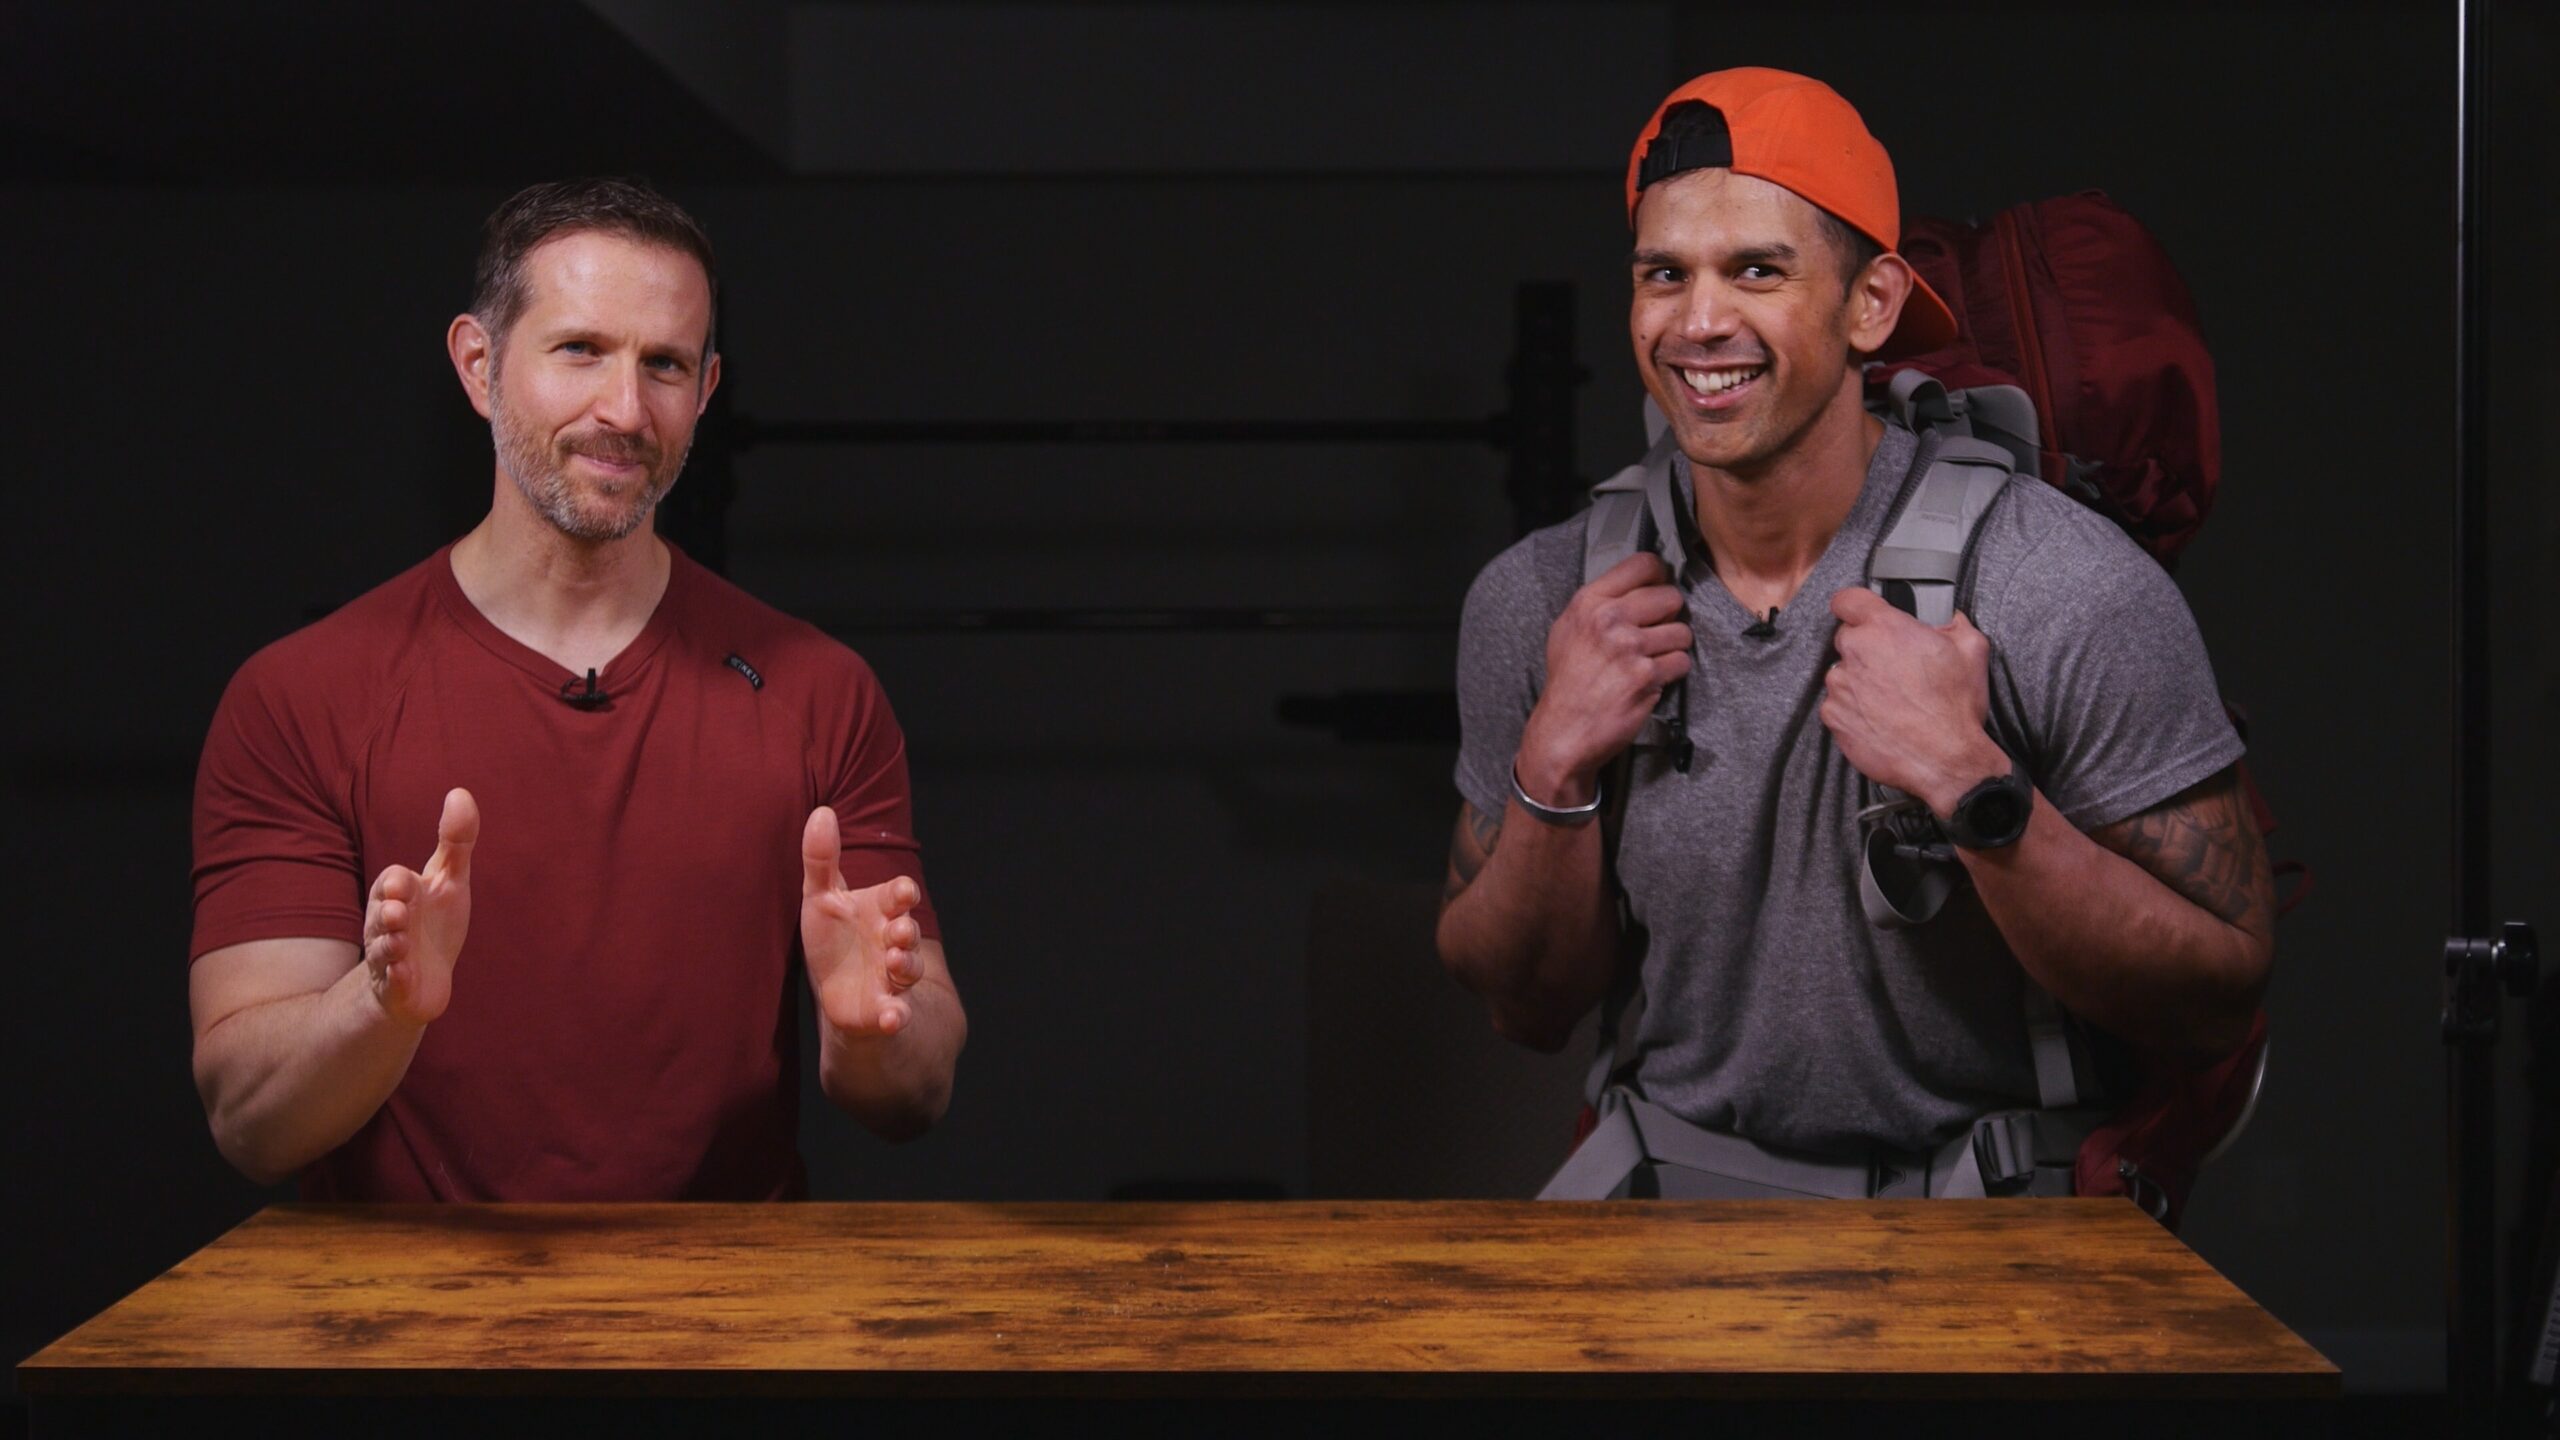
If you’re new to rucking and interested in learning the fundamentals then you’re at the right place because in this video we’re going to break down rucking gear, weight distribution, how to progress your ruck, biomechanics, and terrain considerations. We’re going to make this a quick and simple video to help you get started. I’m Jose and this is Steve. We’re both doctors of physical therapy with over 20 years of clinical experience. We are both addicts to outdoor adventures and we want to show you how you could basically do the same thing. So what do you say we look at the gear and show them what we’ve got? Let’s do it. Sweet. All right, Jose, I’ll let you go first. What you got going on there?…
Continue Reading
So this is my old bad country Osprey backpack that I’ve had and I figured why go buy something when I already have something? So I repurposed this. Let’s show yours. Yeah, for me I ended up going with a GoRuck backpack and I did try what you were doing, Jose, and use like a bag that I had at home but unfortunately it just wasn’t comfortable despite how I just didn’t want to spend that extra money. I did have to go with the GoRuck bag but yeah it’s, uh, what’s going on with how your bag’s put together and what’s inside of it.
So here’s what I like, mine. It’s got the pad for your back and more important than anything to me, it’s got these waist straps that you can see right here. These make it so that your weight distribution stays nice and, you know, even so that when you’re being leaned back by the weight that should be on the very top it feels a-okay. What’s inside? Well, look no further. I went to Lowe’s and I got a nice all-purpose sand bag and that’s what I use. It’s about 50 pounds total.
That’s me. Yeah, and with my approach since I did go with the GoRuck bag—yeah, just like with Jose’s bag and the bag even I tried that I already had previous to the GoRuck bag—that hip belt was really key, especially with a lot of padding, so yeah, I definitely recommend going with the hip belt. The nice thing though about this GoRuck bag is that it actually fit my body and that doesn’t mean that this is the bag for everyone. It was just the bag for my body and, you know, I had this great padding on the strap so it was very comfortable along the shoulders. When I was using my, uh, you know regular backcountry bag it would just gouge into my shoulders and it’d be super uncomfortable, so that’s what really pushed me to go this route.
Sure, yeah, no, that makes sense, and then you may be asking how much weight should you use. You want to start with around 10 to 20 percent of your body weight and then progress maybe to 30 percent but probably no more than that. Now as far as weight, I’ve got 50 pounds on mine total. Steve, what do you have? Yeah, mine and this nice little pocket that they have here in these GoRuck bags. Oh, that’s nice. Yeah, have a nice little 25-pound plate and, you know, something that’s really kind of cool about this bag that was almost like a nice selling point as a bonus for me is that how the weight is actually stored in the bag. Since it’s in this nice little pocket, the convenience is that I can incorporate this into my workouts and because this bag is so durable I don’t care what I do with it—I just throw it around just like any type of weight in the gym so it works really well. And plus, because this is a little pocket, if I’m doing like resistive push-ups I don’t have to worry about the weight sliding out and, you know, clunking me in the back of the head. That is a nice feature that this one does have.
Now as far as biomechanics go, we’ll show you here. So I get the waist strap on nice and tight from the side view—I want to make sure that the rucksack doesn’t pull you excessively forward or backward. As far as terrain goes, I started off on flats and then progressed my way up to, you know, hills and even something with gravel and water—things of that nature.
Yeah, don’t make my mistake—so I decided, number one, I used a weight that was too heavy. I figured I’ll just throw a 45-pound plate in my bag and, you know, no problem—I lift that in the gym. Well, that was bad because my hips started to hurt later. When it came to the terrain, ideally, you know, we should start flat and kind of work our way up, but I just jumped into the major hills in combination with that heavy weight. So don’t be stupid and make my mistake—just take it step by step.
Now, one of our important considerations is your shoes. So when I’m out there hiking I typically use Altra shoes and they’re above ankle and they’re waterproof, and I found that Altras work really well for my feet—but they just have this really good grip, it’s that vibrant base, you know, so I don’t slip as I’m out there on the trails. And then, what have you been using? I keep it simple—I use some Solomon’s trail running shoes that have been with me for two to three years. I just got a new pair—they’re blue, I love them.
Awesome, yeah—and I know you had an issue with a nail. Yeah, so I stepped on a nail once and it went through the shoe, but because it had a plate underneath it didn’t stab me in the foot—so hey, thank you Solomon. Yeah, so that is a very important point: depending on your terrain you may get in some sketchy stuff, so having those plates or protection in your shoe wear is really important.
Now that you have an understanding of the fundamentals—the gear, the weight, the terrain, and the shoes—you should have a good start to what’s required to go out there on a ruck. So go out there and have fun and remember to embrace the suck.